

A Browser Tab Research Lab - Introducing Claude Science
Claude Science Introduction

The Digital Curbside. Practical technology guides for physicians, by a physician.
Part 6.
Anthropic quietly released something this week that changes what these tools can do for an academic physician, and almost none of my research colleagues have seen it yet. I’ve been playing around with it this week and the power of this tool is enormous. It is called Claude Science, and unlike everything else I have written about so far, it is not a just a chat window. It is a research workbench that runs on your own machine, connects to the databases you already use, runs real analysis in Python and R (just like a statistician would), and traces every figure back to the exact code that made it, making every word, line, and image editable.
I want to be careful here, because this is the kind of tool that is genuinely powerful and genuinely dangerous in the same breath. It can run an entire systematic review (at the time of this writing, I’ve completed a full review in about two-hours time) or a full meta-analysis, forest plots and all, faster than a research team does in a year. It can also hand you a beautiful, publishable-looking pooled estimate built on a number it extracted wrong, and you would never know from looking at it. So this issue is two things at once - I provide you with a real walkthrough of two research workflows you can build and reuse (that I’ve now personally tested), and an honest account of the one part you cannot hand to it - and to always be accountable for the output.
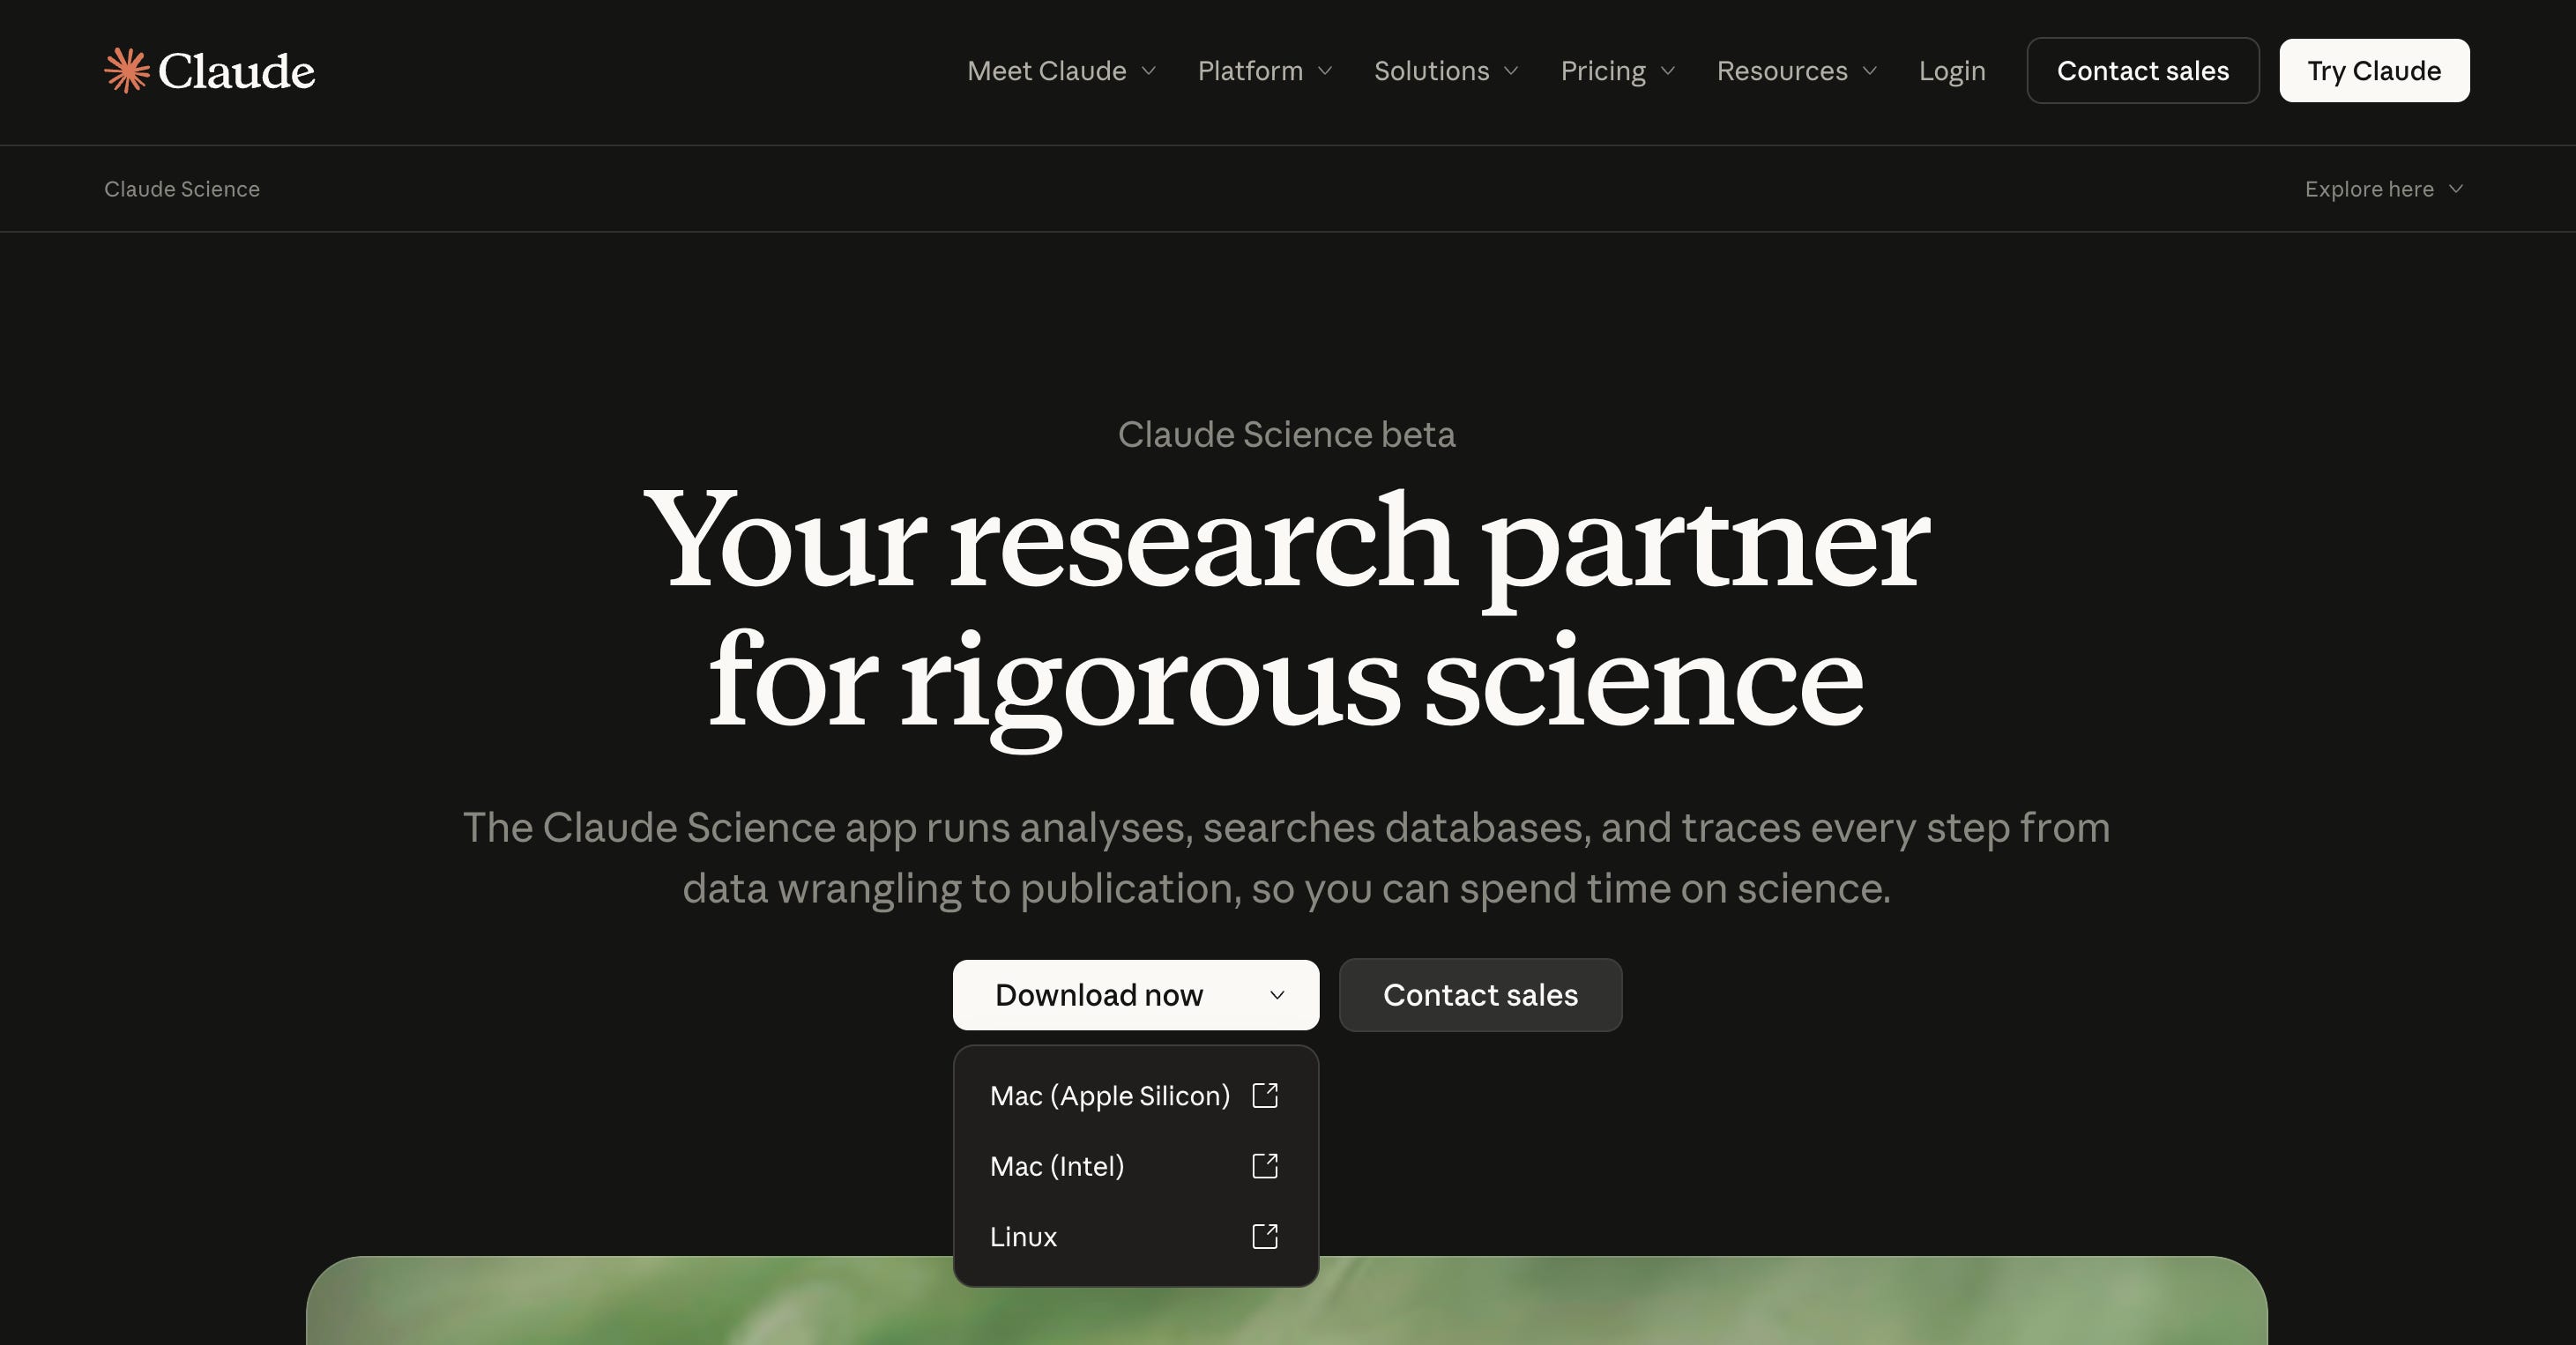
To start, you can download it at claude.com/product/claude-science.
What Claude Science Actually Is
First, what it is not. It is not a new model, and it is not a smarter chatbot. It is a beta app that wraps the same Claude models that already exist (such as Opus, which I recommend for this use case) in a real scientific environment. The difference is everything around the model (what tools and resources the model has access to in real-time when performing actions on your behalf).
A few things make it different from anything we have covered. It keeps persistent Python and R kernels running (which essentially means it is running those programs in the background, as if you had them open on your computer and were doing it yourself), so your data and loaded models stay in memory across an entire analysis rather than resetting every time you message it. It connects natively to more than sixty scientific databases (in real-time) including PubMed, ClinicalTrials.gov, Consensus, and the rest, so it pulls literature and data directly from these resources rather than you copying it in, or doing a web search that can be prone to errors. Every figure, table, and notebook it produces ships with its own history, the exact code, the environment, and the conversation that made it, so a result is reproducible (the biggest concern in the scientific world) months later instead of being a blackbox output. And it runs a background reviewer that flags incorrect citations, untraceable numbers, and figures that do not match the code behind them before you ever submit it to a journal.
That last feature matters more than it sounds, and we will come back to it, because a tool that checks its own citations is exactly the kind of thing that lulls you into not checking them yourself.
It Runs Locally On Your Machine (Browser Tab)
This is the part worth understanding before you install anything, because it is unusual and it is the reason the tool is usable with sensitive work at all.
Claude Science is not a website you log into. You download and install it on your own computer, and it runs on there. You then work with it in a browser tab that is pointed at your own machine, at localhost (you will see this as the URL in your browser), not at a server somewhere else. The practical consequence is that the heavy compute and your raw data stay local. Your data and information does not get uploaded anywhere.
Be precise about what that does and does not protect, though, because it is easy to over-read. Your raw data staying local is real. But the content of your prompts and the model’s responses is still processed by Anthropic under standard retention, the same as any consumer plan. So the privacy win is genuine for large local datasets, and it is not a substitute for a Business Associate Agreement (so please do not upload PHI until it is de-identified for analysis). If you are pulling your own institution’s patient-level data into a meta-analysis, de-identify it and follow your institution’s rules exactly as you would anywhere else. Published literature, which is what most reviews run on, carries none of that risk.
A few practical notes - it is still in beta (it was literally released three days ago), on any of the paid plans, and it runs only on Mac for now.
Workflow One: A Systematic Review, End To End
Here is the first workflow worth building, and the one most academic physicians will probably use immediately. As we discussed in our previous posts, using Claude (the original version) correctly already expedites this process significantly. But its limitations are still felt with respect to in-depth data-synthesis, generating publication ready figures, and combing through large datasets without error. Claude Science can run the whole pipeline with the entire dataset within its context (no limit to this context since it is run locally), and the point is not just speed, it is that you can save the pipeline and run your next review the same exact rigorous way. In the way we built “Styles” in our previous examples, this allows you to teach Claude once, tweak as needed, and then repeat.
Step 1: Define the project, question, and lock the protocol.
First thing you will need to do is create a project, which comes with a set of “Agent Context” instructions. This is extremely important, because it sets the stage for exactly what you want Claude to run on your machine, and what you want it to do. I provided an example prompt below.
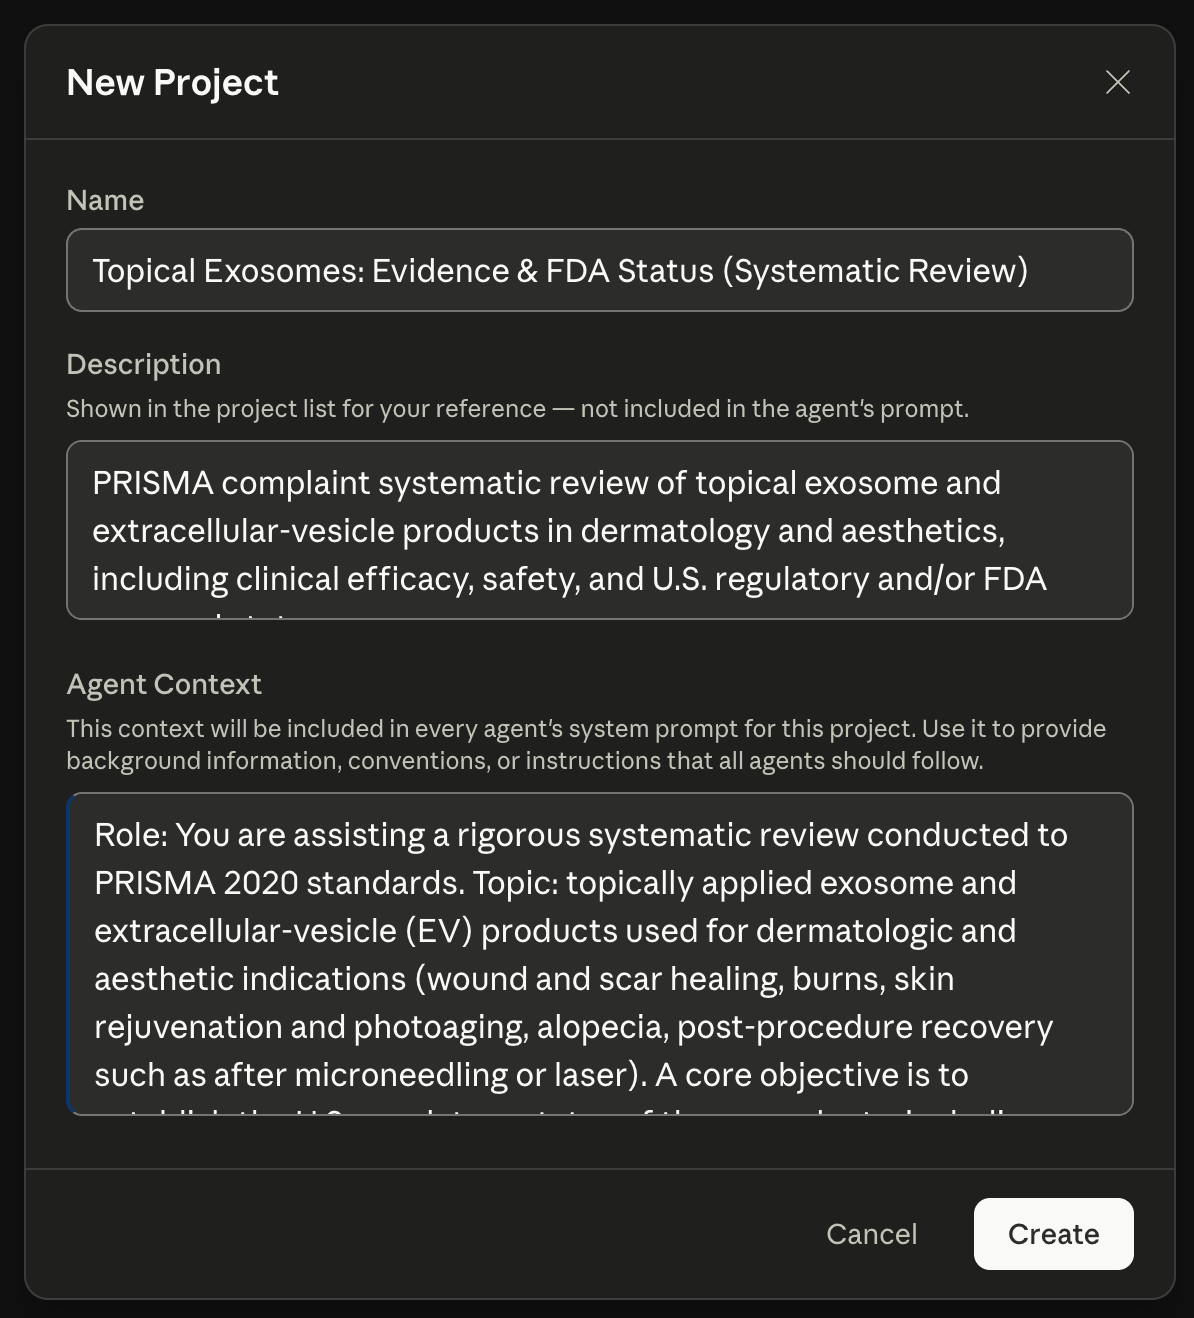
See below an example prompt that you can copy and paste to create your own projects. This example will look at performing a systematic review of topical exosomes.
ROLE AND GOAL
You are assisting a rigorous systematic review conducted to PRISMA 2020 standards.
Topic - topically applied exosome and extracellular-vesicle (EV) products used for dermatologic and aesthetic indications (wound and scar healing, burns, skin rejuvenation and photoaging, alopecia, post-procedure recovery such as after microneedling or laser). A core objective is to establish the U.S. regulatory status of these products, including whether any are FDA-approved. Important framing: to current knowledge no exosome or EV product is FDA-approved for any dermatologic or aesthetic use, topical or injectable, and the FDA classifies topical exosome products that make regenerative claims as unapproved drugs or biologics and has issued safety warnings and enforcement actions. Treat “FDA-approved” as a question to answer with primary regulatory sources, never as an assumption. Clearly distinguish FDA-approved drugs or biologics, products marketed as cosmetics, and unapproved or investigational products.
RESEARCH QUESTION (PICO)
Population - human patients receiving a topical exosome or EV product for a dermatologic or aesthetic indication.
Intervention.- topically applied exosome or EV product (record cell source when reported, such as adipose-derived, MSC-derived, platelet-derived, plant-derived).
Comparator - placebo, standard of care, an active comparator, or none.
Outcomes - clinical efficacy for the stated indication, safety and adverse events, and U.S. regulatory/approval status.
METHODS AND STANDARDS
Follow PRISMA 2020 for every stage and for reporting. Draft an a priori protocol before searching. Every step must be reproducible: record the exact search string per database, the date run, and the count returned at each stage. Every extracted data point must be traceable to a specific source location (table, figure, or page).
DATABASES AND SOURCES
PubMed/MEDLINE, Embase, Cochrane CENTRAL, and Scopus or Web of Science. Trials: ClinicalTrials.gov. Regulatory status (primary sources only) including FDA drugs website, the FDA Purple Book, FDA Warning Letters, and FDA safety communications. Hand-search reference lists of included studies and relevant reviews.
INCLUSION CRITERIA
Human studies of a topically applied exosome or EV product for a dermatologic or aesthetic indication that report a clinical efficacy or safety outcome. Randomized and non-randomized, prospective and retrospective. English language. No date limit unless specified.
EXCLUSION CRITERIA
Preclinical, in vitro, or animal-only studies. Non-topical routes (injectable, systemic) unless directly compared with topical. Reviews, editorials, and abstracts without extractable data (retain for reference screening). Products that are not exosome or EV based.
DATA EXTRACTION FIELDS
For each included study include the author, year, country, design, sample size, indication, product name and manufacturer; exosome cell source and characterization method, dose and regimen; comparator, follow-up, primary and secondary outcomes with effect sizes, adverse events, funding and conflicts of interest, and stated regulatory status.
RISK OF BIAS AND CERTAINTY
RoB 2 for randomized trials, ROBINS-I for non-randomized studies, and a named quality tool for single-arm or case series. Report risk of bias per study and across the evidence base. Grade overall certainty with GRADE.
SYNTHESIS
Summarize narratively first. Pool quantitatively only if studies are clinically and methodologically similar enough to justify it, and if so state the model (fixed vs random effects) and the rationale, assess heterogeneity, and evaluate publication bias where feasible.
HARD RULES
Never fabricate or estimate a value that is not in the source. If a field is not reported, mark it “not reported” and do not infer a number. Every quantitative result must cite its exact source location. At title/abstract and full-text screening and at final inclusion, propose an include or exclude decision with a reason for each study, but defer the final call to the human reviewer. Flag any product with an “FDA-approved” claim you cannot verify against a primary FDA source. Keep all clinical and regulatory claims conservative and tied to the cited evidence.
Start where a real review starts, not with the tool. Give it your question in PICO terms and your inclusion and exclusion criteria, and have it draft a protocol to PRISMA standards before it touches a database. You are setting the rules here, and this is a judgment step, not a search step. Read what it drafts and fix it.
Step 2: Build and run the search.
Have it translate your criteria into a real search string and run it across the connected databases, PubMed and the others, capturing the full query and the counts per source so the search is reproducible. This is where the database connections are critical, because it is querying the sources directly rather than working from a copy you pasted, or by doing a web-search as it had to have done previously.
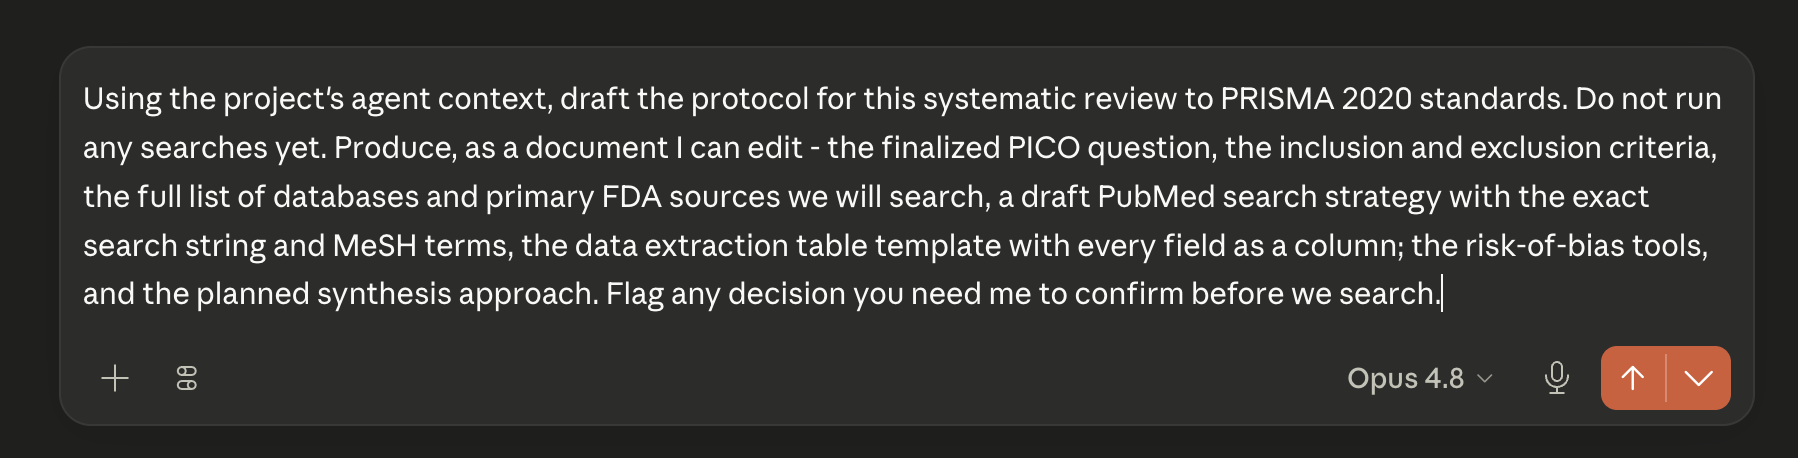
See how I prompted the project agent below.
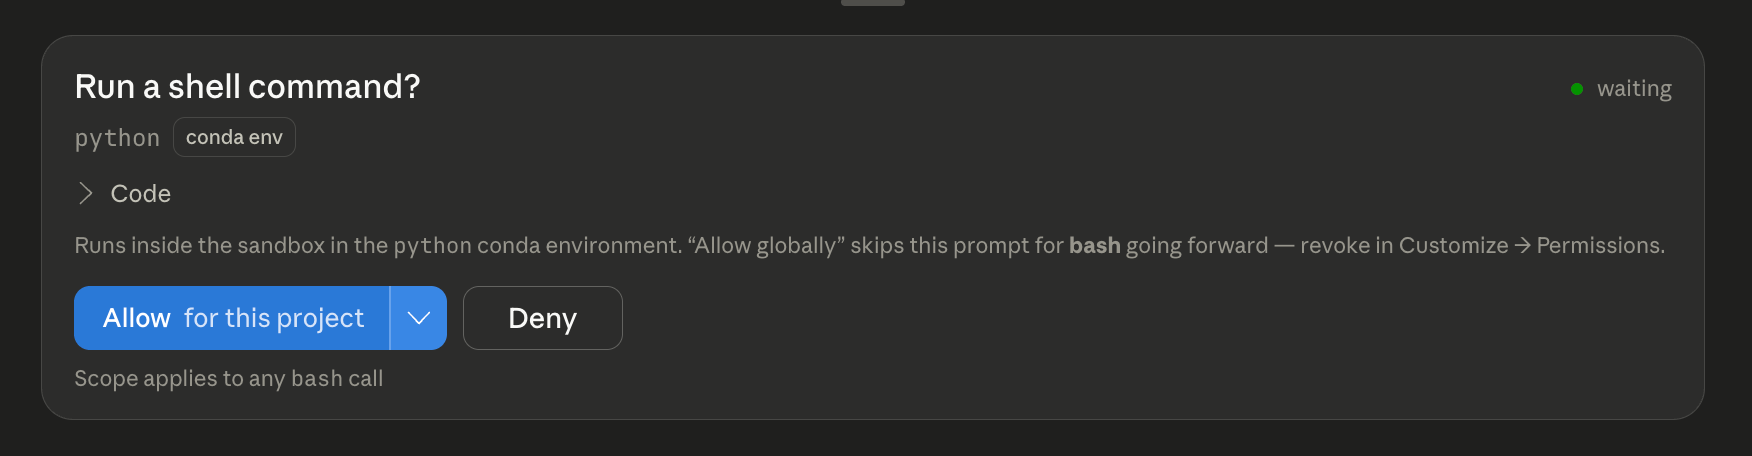
For those of you new to using Claude agents that run code on your computer, you will be prompted with the below for your permission. You must allow it to run python scripts to perform the above actions, and it will not continue until you press “Allow.” I would recommend using the “Allow for this project” option so that it only has free-reign to run these scripts within the context of this project, and not anywhere on your computer at anytime.
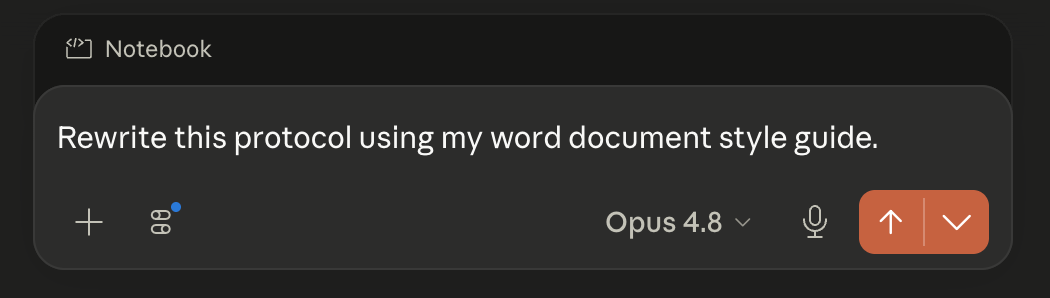
Remember that you can also use the style guides you previously created! This can be included in your first prompt if you saved a style guide from our last article.

Step 3: Deduplicate and screen.
It removes duplicates, then screens titles and abstracts against your criteria, and then full text, giving you its include or exclude call and its reason for each one. Read that sentence twice, because it is the crux of the whole thing: it proposes, you adjudicate. Screening is a judgment call about whether a study truly meets your criteria, and it stays yours. Use it to do the first pass at machine speed, then review its decisions, especially the excludes.
Step 4: Extract the data into a structured table.
For every included study it pulls your predefined fields into a table, design, sample size, follow-up, the outcomes you care about, complication rates. This is fast and it is also where the most dangerous errors enter, which is the subject of the failure section below.
Step 5: Assess risk of bias and build the PRISMA diagram.
Run your chosen risk-of-bias tool across the included studies, and generate the PRISMA flow diagram from the actual counts at each stage. Because every artifact carries its provenance, the diagram traces back to the real numbers rather than being drawn by hand.
Step 6: Draft the review, then save the whole thing as a Skill.
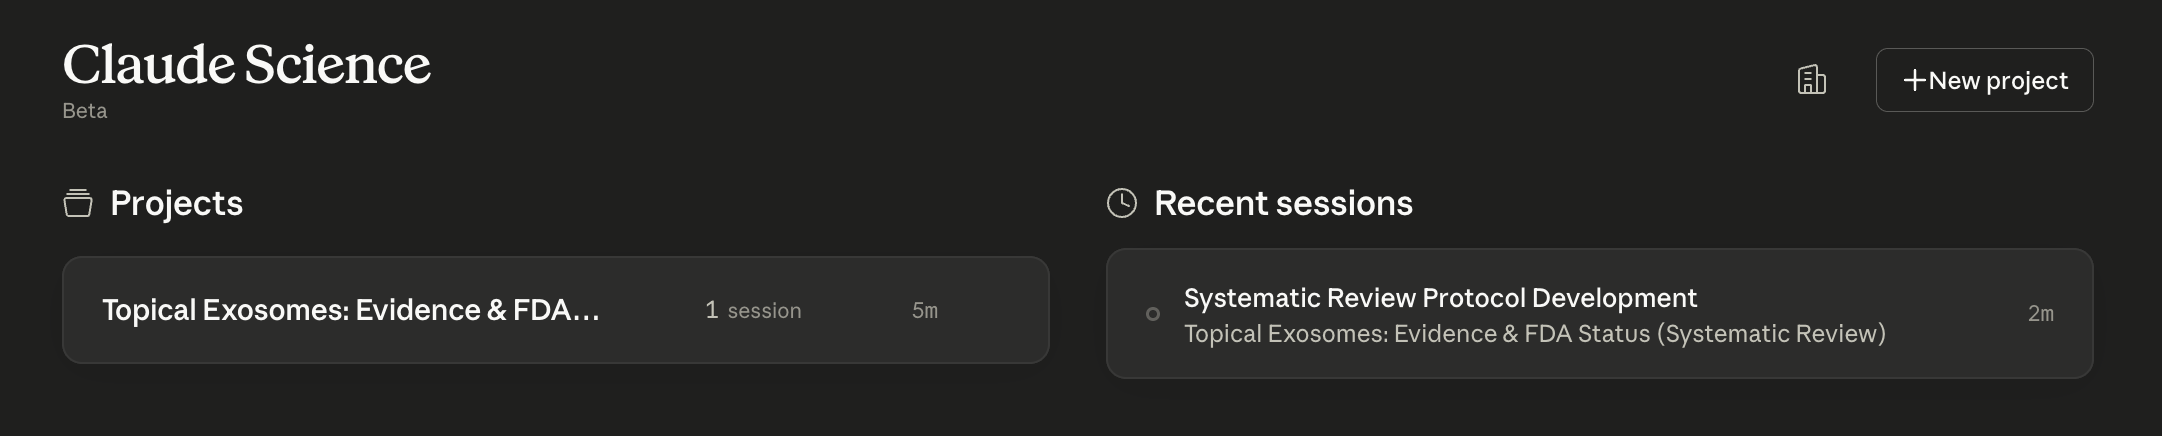
It drafts the review alongside the analysis that produced it. And here is the part that ties to the last issue - save the entire pipeline as a reusable Skill, exactly as we did in Part 5. Your next review starts with your protocol standards, your extraction fields, and your risk-of-bias approach already baked in. You built the method once, and you can reuse it again and again. Your projects then live in the home screen of the browser application.
Workflow Two: A Meta-Analysis
If the studies are poolable (I am teaching you how to use AI, not how to do research, so if you don’t know what this means, you can probably skip this part), this second workflow takes the table from the review and turns it into a quantitative synthesis. This is the one that feels like absolute magic to me, but it is also the one where a wrong input hides best.
Step 1: Bring the effect sizes across.
Feed it the extracted events and totals (from workflow one above), or the effect sizes and their variances, straight from the review table. Because the kernels (processing running in the background on your computer on Claudes behalf) are persistent, that data now lives in memory for the rest of the analysis.
Step 2: Choose the model, and be specific.
Tell it to pool the data and have it state its reasoning for a fixed-effect versus a random-effects model rather than silently picking one. For clinical studies with real between-study variation, random effects is usually the honest choice, but that is your call to make and defend, not Claude. You can ask for a recommendation, but the choice should ultimately be yours.
Step 3: Run the pooled analysis.
It runs the synthesis in R, in the live kernel, using the standard meta-analysis packages, and returns the pooled estimate with its confidence interval. Every number it gives you is traceable to the code that produced it. You can investigate each value to make sure nothing was missed or pulled incorrectly from the dataset.
Step 4: Generate the forest plot and the funnel plot.
Ask for the forest plot and you get a real, publication-quality figure with each study, its weight, and the pooled diamond. Ask for a funnel plot and a test for publication bias, and you get those too. Then, because figures are editable in plain language, you annotate the plot to fix a label or reorder the studies and it edits the code directly.
Step 5: Interrogate the heterogeneity.
Have it report the heterogeneity, the I-squared and its interpretation, and run the sensitivity and subgroup analyses you specify, leave-one-out analysis, segregated by study quality, or even by year. I performed these as one by one so that I could verify each output manually.
Step 6: Draft the results and save it as a Skill.
It writes the results section with references to the figures that produced it, and again, you save the pipeline as a Skill so your next meta-analysis inherits your model preferences and your figure style (you will likely go back and forth a few times to tweak each initial output). Two saved Skills, and you have a review-to-forest-plot method you own.
Where It Fails
Here is the failure that should keep you on your toes, and it is specific to this kind of tool (our first real discussion of locally run workflows).
The output of a meta-analysis looks authoritative in a way almost nothing else in medicine does (in-fact a meta-analysis of randomized controlled trials is one of the highest levels of evidence we can offer in clinical research). A forest plot with a tight pooled diamond and a significant p-value carries enormous weight, and Claude Science produces one that looks perfect. The problem is that the polish is generated at the end, and the errors enter at the beginning, during initial data extraction and pooling. These AI tools do a phenomenal job at statistical analysis, synthesis and so forth, but mistakes can be made in the initial data extraction from unstructured, and untagged data in PDF files, word documents, HTML, and various formats. Every piece of data extracted at the start of the review process should be verified, and each “processing” step should be re-verified to ensure data is persistent.
There is one more dangerous failure, and one that journals will soon be drawn to screening. A fixed-effect model run on clinically heterogeneous studies produces a confident, narrow estimate that is dangerously misleading, and it will look just as clean as the correct analysis. The tool will run whatever model you point it at. It does not know your studies are too different to pool, only you do. As such, analyses such as these should still be performed and reviewed by those with prior expertise.
Said plainly, Claude Science removes the labor of a systematic review. It does not confer the scientific rigor. The rigor was always the judgment, and the judgment is still yours - just like everything else in medicine.
The Bottom Line
Claude Science is the most serious research tool I have seen aimed at people who actually do research, and for an academic physician it collapses the part of a systematic review or meta-analysis that used to require a team of medical students and several months to perform.
It also produces the single most authoritative-looking output in clinical medicine, and it will produce it just as confidently from a number it got wrong from the get go. So run it, save your workflows, and save your styles. Then spend a serious fraction of the time you saved doing the one thing the tool cannot, by checking that the polished result in front of you is actually valid and true. That was always the scholarship of the research process, and it is still yours to do.
© The Digital Curbside. All clinical examples are educational and de-identified. Nothing in this guide constitutes medical advice or clinical decision support.